
Garage door roller replacement is an affordable, largely DIY-friendly fix that keeps your door running quietly and smoothly, typically costing $150 to $250 for a professional job. When rollers wear out, your door gets noisy, jerky, and harder to open, but swapping the side and top rollers is a task many homeowners can handle in an afternoon. This guide covers how to do it step by step, what it costs, and the one roller job you should always leave to a pro.
- Affordable fix: Roller replacement is one of the cheapest garage door repairs.
- Mostly DIY-friendly: Side and top rollers are accessible to handy homeowners.
- Know the limit: Bottom rollers connect to cables under tension and need a pro.
What Garage Door Rollers Do

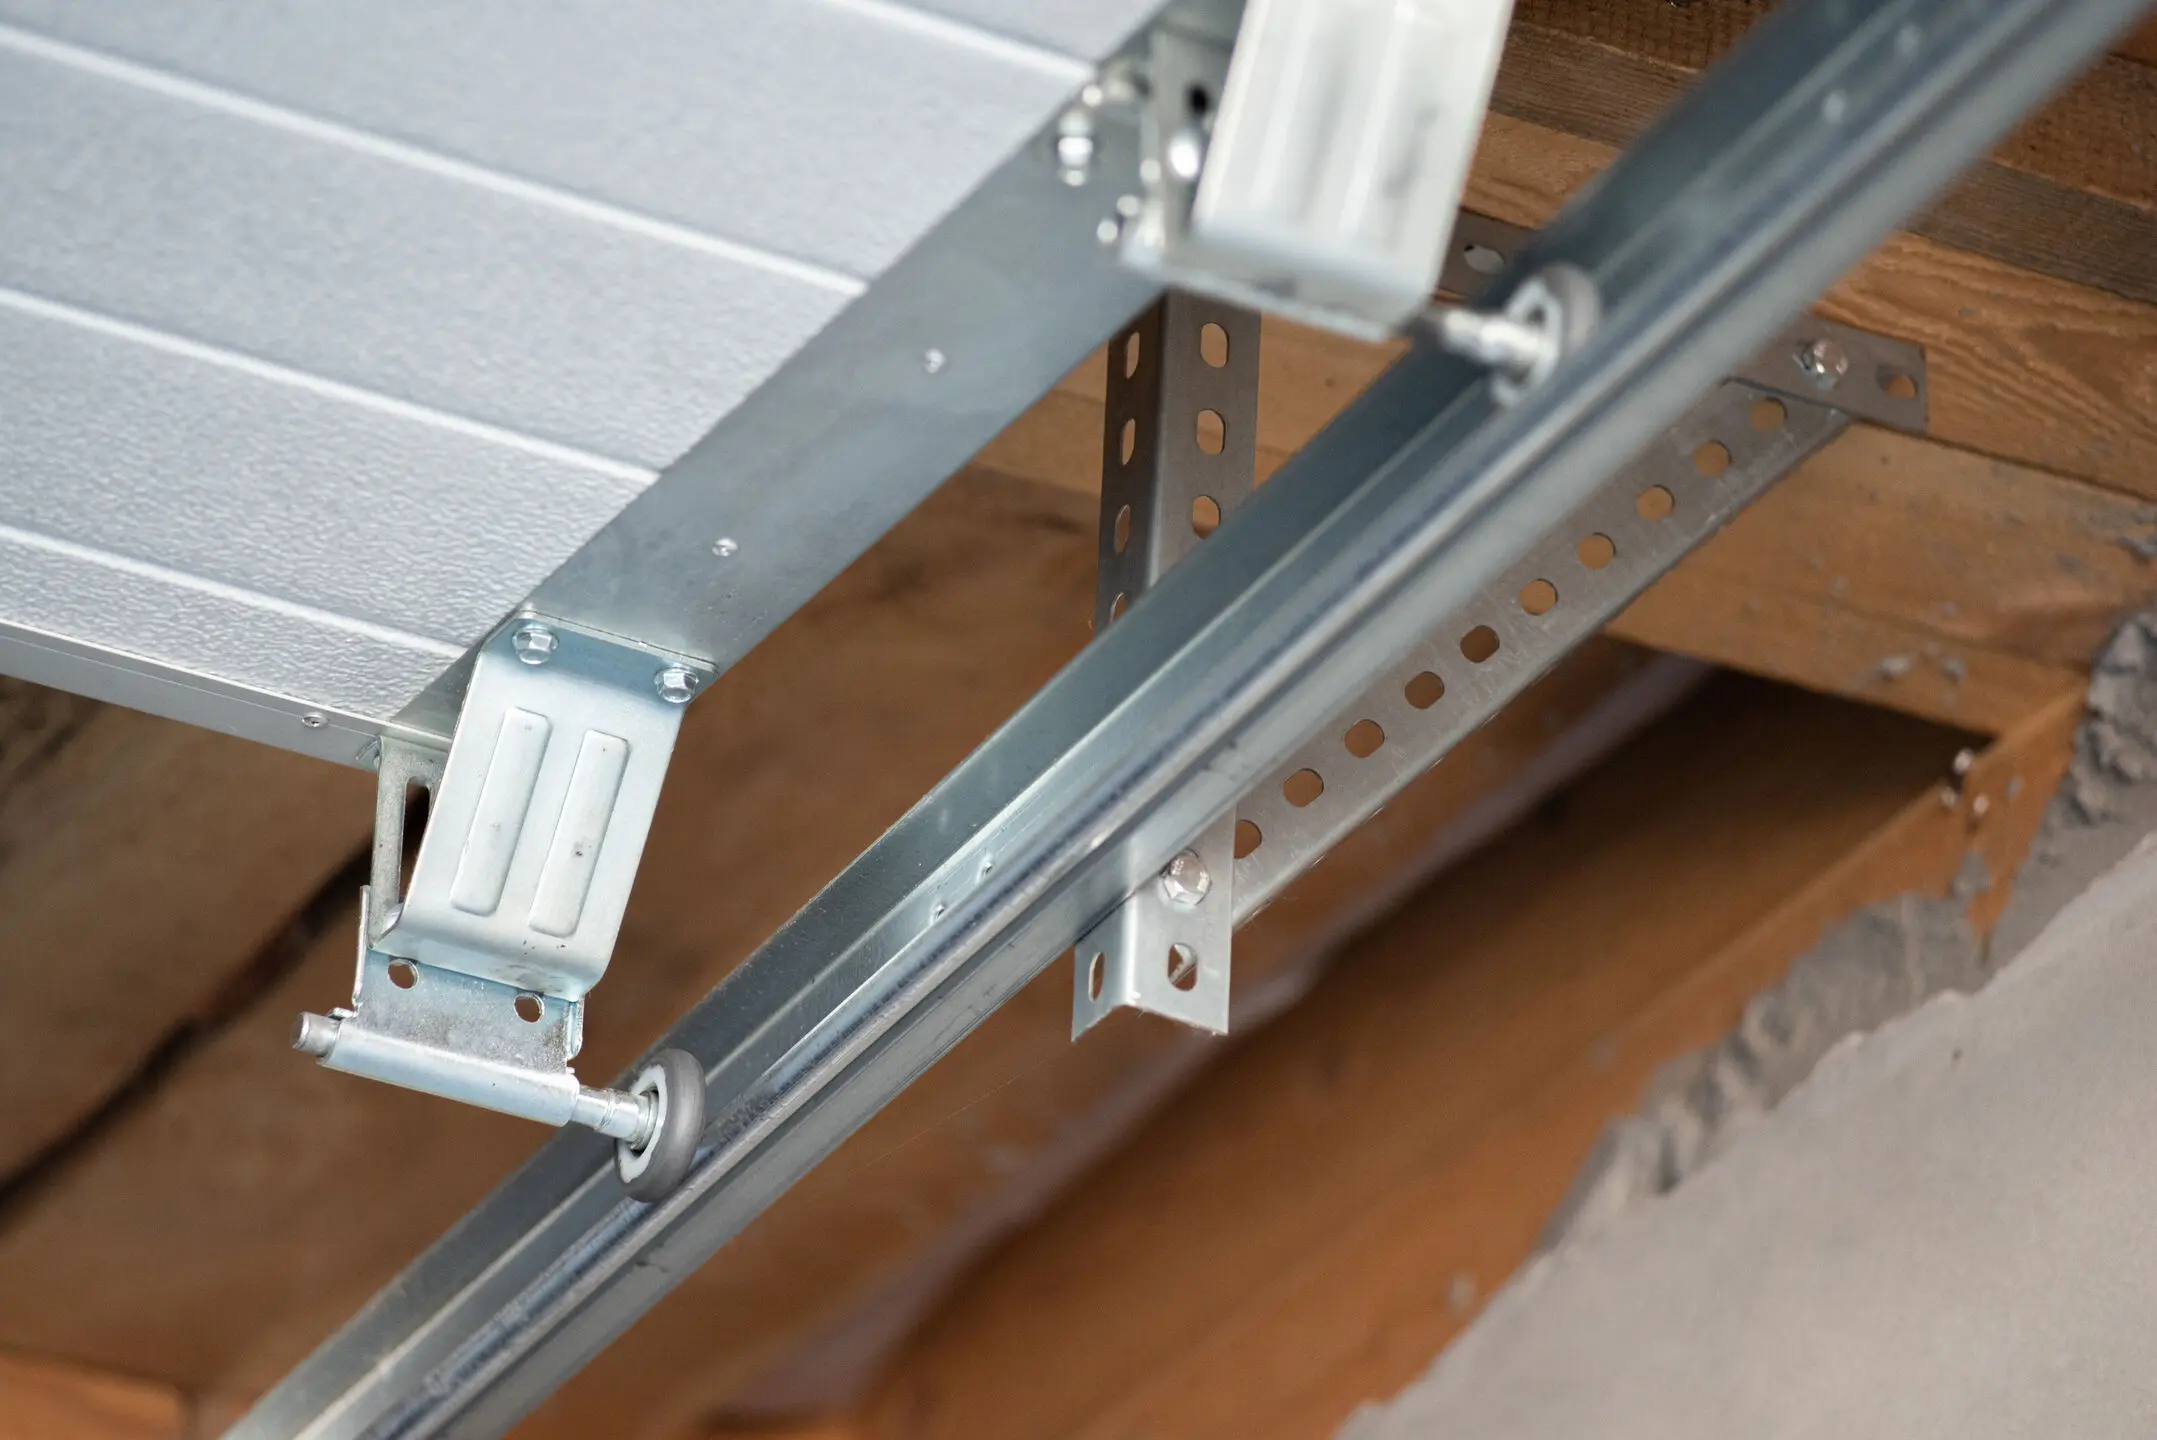
Garage door rollers are the small wheels that guide your door along its tracks as it opens and closes, keeping movement smooth and aligned. A standard residential door has 10 to 12 rollers, each taking on heavy wear from daily use. When they wear out, the door gets loud, rough, and harder to operate, which is why timely replacement matters.
Signs Your Rollers Need Replacing
The clearest signs of worn rollers are grinding or squeaking noises, jerky movement, and visible cracking or chipping on the roller wheels. You may also hear rattling if the connection between a roller’s stem and wheel has loosened, or notice the door moving slower than usual. Catching these signs early prevents a worn roller from pulling the door out of alignment. Replacing rollers promptly protects the rest of the door system.
- Noise: Grinding, squeaking, or rattling during operation.
- Rough movement: Jerky, choppy, or slow travel along the tracks.
- Visible wear: Cracking, chipping, or bent roller wheels.
- Alignment issues: A door that starts to bind or sit unevenly.
Types of Garage Door Rollers
Garage door rollers come in three main types: plastic, steel, and nylon, with nylon being the quietest and most popular upgrade. The type you choose affects noise, lifespan, and cost. The options are compared below.
Plastic, Steel, and Nylon Rollers Compared
Each roller type balances cost, noise, and durability differently, so the best pick depends on your priorities and whether the garage sits below living space. Plastic is cheapest but wears fastest, steel is durable but loud, and nylon offers the best quiet, long-lasting performance. The breakdown below shows how they differ.
- Plastic rollers: The cheapest at a few dollars each, but they wear out fastest and run louder.
- Steel rollers: Durable and long-lasting, but noisy, making them less ideal under bedrooms.
- Nylon rollers: Quiet, smooth, and rust-free, the popular all-around upgrade.
- Sealed-bearing nylon: Premium nylon with ball bearings for the quietest, longest-lasting operation.
How Much Does Garage Door Roller Replacement Cost?
Garage door roller replacement costs about $150 to $250 for a professional job, with a national average around $200 including parts and labor. According to Angi, the price is driven by the roller material, diameter, number of rollers, and local labor rates, with steel rollers costing more than nylon. Doing it yourself cuts the cost to just the price of parts. The breakdown below shows what to expect.
Cost by DIY vs. Professional
The biggest cost difference is whether you do the job yourself or hire a pro, since labor is a large share of the total. DIY means paying only for parts, while professional service adds labor at $75 to $150 per hour. The ranges below reflect typical pricing.
- DIY parts only: Roughly $20 to $100 for a full set of 10 to 12 rollers.
- Professional full set: About $150 to $250 installed, with $200 typical.
- Per-roller parts: Around $3 to $6 for nylon, more for sealed-bearing nylon.
- Single-panel fix: Roughly $10 to $30 in parts for two to three rollers.
6 DIY Steps to Replace Garage Door Rollers
The six steps below walk you through replacing the accessible side and top rollers on your garage door. Work through them with the door closed and the opener disconnected, one roller at a time, and stop short of the bottom rollers. Each step leads with the key action, then explains how to do it right.
1. Close the Door and Disconnect the Opener
Start by closing the garage door fully and disconnecting the opener by pulling the manual release cord. This ensures the door cannot move or be activated while you work. For added safety, unplug the opener entirely at the outlet. A closed, powered-off door is the safe starting point for any roller work.
- Close the door: Work with the door fully down.
- Pull the release: Disconnect the opener with the manual release cord.
- Unplug for safety: Cut power to the opener at the outlet.
- Confirm it’s secure: Make sure the door cannot move.
2. Secure the Door in Place
Clamp a pair of locking pliers or vice grips onto the track just above a roller to lock the door in position. This prevents the door from shifting as you remove and replace rollers. Place the clamp firmly so the door stays put throughout the job. A secured door makes the swap safer and easier.
- Use locking pliers: Clamp vice grips onto the track.
- Position above a roller: Place the clamp to hold the door steady.
- Check stability: Confirm the door will not slide.
- Keep it clamped: Leave the clamp in place while you work.
3. Remove One Roller at a Time
Working on a single side or top roller, unbolt the hinge that holds it, or flex the track slightly, to free the roller. Tilt the hinge and roller assembly toward you and slide the roller wheel out of the track. Doing one roller at a time keeps the door stable and aligned. Note the wear pattern on the old roller as you remove it.
- Work one at a time: Only free a single roller before replacing it.
- Unbolt the hinge: Loosen the hinge or gently flex the track.
- Tilt and slide out: Angle the assembly to release the roller.
- Inspect the old roller: Check the wear before installing the new one.
4. Insert the New Roller
Slide the stem of the new roller into the hinge assembly, then angle the unit to guide the roller wheel back into the track. Make sure the roller seats fully and moves freely once in place. Re-secure the hinge hardware you loosened. A properly seated roller should sit snug in the track without binding.
- Insert the stem: Place the new roller’s rod into the hinge.
- Guide into the track: Angle the wheel back into the track.
- Seat it fully: Confirm the roller sits properly in place.
- Re-secure the hinge: Tighten the hardware you removed.
5. Repeat for All Accessible Rollers
Continue replacing the side and top rollers one at a time, working your way around the door. Replace every accessible roller to keep the door balanced and moving smoothly on consistent hardware. Leave the two bottom rollers alone, since those connect to the lift cables under tension. Stopping at the accessible rollers keeps the job safely within DIY range.
- Go one by one: Replace each accessible roller in turn.
- Stay consistent: Use the same roller type throughout.
- Skip the bottom rollers: Leave cable-connected rollers to a pro.
- Keep it balanced: Replacing all accessible rollers ensures even travel.
6. Lubricate and Test the Door
Once all accessible rollers are replaced, apply a thin coat of garage-door lubricant to the roller stems, hinges, and springs, using a lithium or silicone product rather than WD-40. Then manually raise and lower the door a few times to confirm smooth, quiet operation. Reconnect the opener and test a full cycle. Smooth, quiet travel means the job is done right.
- Lubricate the parts: Apply lithium or silicone lube to stems and hinges.
- Avoid WD-40: It acts as a cleaner, not a proper lubricant.
- Test by hand: Raise and lower the door manually first.
- Reconnect and cycle: Restore the opener and run a full test.

Why Bottom Rollers Require a Professional
The bottom rollers are the one part of this job you should never tackle yourself, because they are tied directly into your door’s high-tension cable system. Knowing why helps you draw a safe line between DIY and professional work.
The Cable Tension Risk
The bottom rollers sit inside brackets connected to your garage door’s lift cables, which are under extreme tension, making them dangerous to replace yourself. Disturbing a bottom bracket can release that tension suddenly and cause serious injury. For this reason, bottom roller replacement should always be left to a trained technician with the right tools. Keeping your DIY work to the side and top rollers keeps you safe.
- Cable tension: Bottom rollers connect to high-tension lift cables.
- Injury risk: Releasing that tension can cause serious harm.
- Leave it to a pro: Technicians have the tools to do it safely.
- Stay in DIY range: Limit your work to side and top rollers.
Frequently Asked Questions About Garage Door Roller Replacement
Below are quick answers to the questions homeowners ask most about garage door roller replacement. Each response leads with the direct answer so you can find what you need fast.
How Much Does It Cost to Replace Garage Door Rollers?
Garage door roller replacement costs about $150 to $250 for a professional job, with a national average around $200 for parts and labor. Doing it yourself cuts the cost to just the parts, roughly $20 to $100 for a full set. Roller material and door size affect the final price.
Can I Replace Garage Door Rollers Myself?
Yes, you can replace the side and top rollers yourself, since they are accessible by unbolting a hinge or flexing the track. However, the bottom rollers connect to cables under high tension and should always be left to a professional. Stick to the accessible rollers for a safe DIY job.
How Long Do Garage Door Rollers Last?
Garage door rollers last about 10 to 20 years with proper maintenance, though heavy daily use can wear them out in as little as six to 10 years. Regular cleaning and lubrication extend their lifespan. Nylon rollers often outlast cheaper plastic ones.
Are Nylon or Steel Garage Door Rollers Better?
Nylon rollers are better for most homeowners because they run much quieter and will not rust, making them ideal for garages below bedrooms. Steel rollers are more durable but noisier. Sealed-bearing nylon rollers offer the best combination of quiet operation and long life.
How Do I Know If My Garage Door Rollers Are Bad?
You can tell rollers are bad if you hear grinding, squeaking, or rattling, see cracking or chipping on the wheels, or notice jerky, slow door movement. A door that starts to bind or sit unevenly is another sign. Replacing worn rollers promptly prevents further damage.
Should I Replace All the Rollers at Once?
Yes, replacing all the accessible rollers at once is usually best, since they wear at a similar rate and matched rollers keep the door balanced. The labor is already being done, so the added part cost is minimal. Replacing hinges at the same time can also make sense if they are worn.
Keep Your Door Rolling Smoothly With Quality Overhead Door

Quality Overhead Door is your local expert for garage door roller replacement, backed by decades of experience keeping doors quiet, smooth, and safe. Whether you want help upgrading to quiet nylon rollers or need a technician to safely handle bottom rollers and cables, our team has you covered. As a family-owned business serving Northwest Ohio and Southeast Michigan since 1982, we know exactly how to keep your door operating like new. To schedule roller replacement or get a free quote, contact Quality Overhead Door today.